This is an old revision of the document!
Table of Contents
ACTIVE DIRECTORY - WINDOWS SERVER 2012 R2
Active Directory (AD) is a directory service for use in a Windows Server environment. It is a distributed, hierarchical database structure that shares infrastructure information to locate, protect, manage, and organize computer and network resources, such as files, users, groups, peripherals, and network devices.
1. Topology
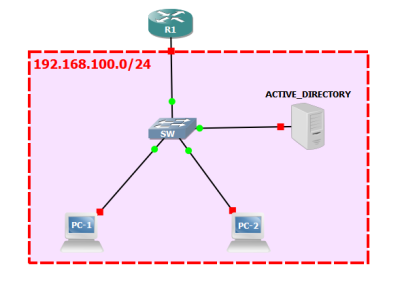
For the Active Directory service, a simulated network scenario is carried out with the GNS3 program, where we are going to use a Cisco router with the DHCP service, a virtual machine with Windows Server 2012 R2 Standard and two client virtual machines with Windows 7 Professional. The topology for this scenario is shown below.
The following table shows the information of the devices, IP address and operating system.
2. Router Configuration
2.1 IP addressing and network interface configuration
The IP address of the Router (Network Gateway) is configured, where the configuration is applied to the network interface that connects to the local network.
The following image shows the IP address settings on the local interface.
2.2 DHCP Server
The DHCP Service configuration for the delivery of dynamic IP addresses to the network segment is performed. To configure the DHCP in the Router, specify the network address with its subnet mask, the DNS which would be the Server IP.
The following image shows the DHCP service configuration on the router.
3. Active Directory Server Configuration
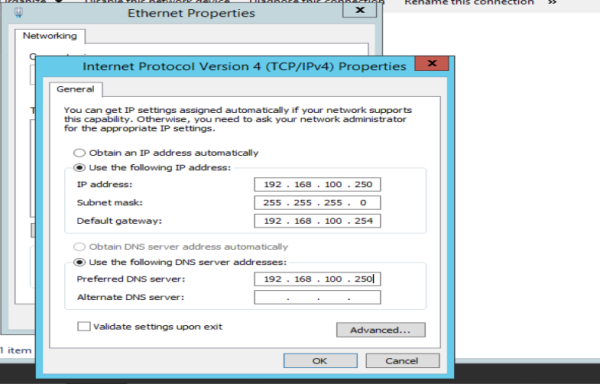
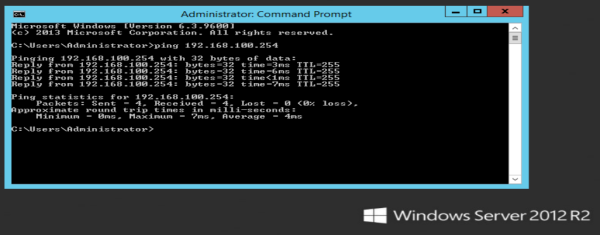
3.1 Server IP address configuration
3.2 Active Directory Configuration
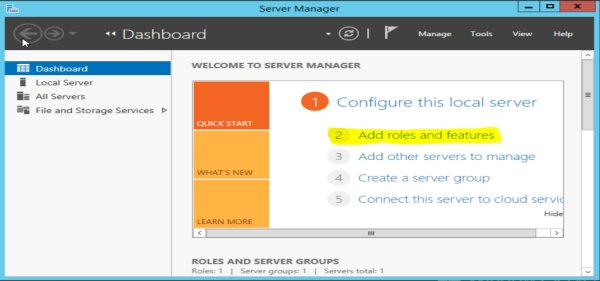
To configure the Active Directory service, we are located in the Windows Server Server Manager. On the initial screen, we choose the Add Roles option.
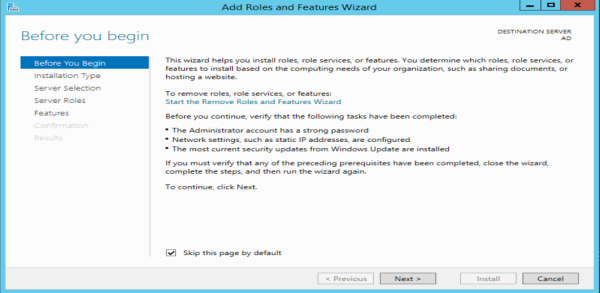
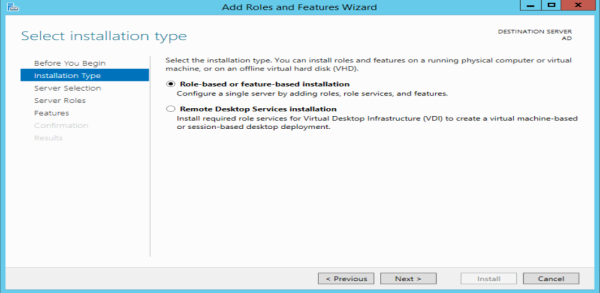
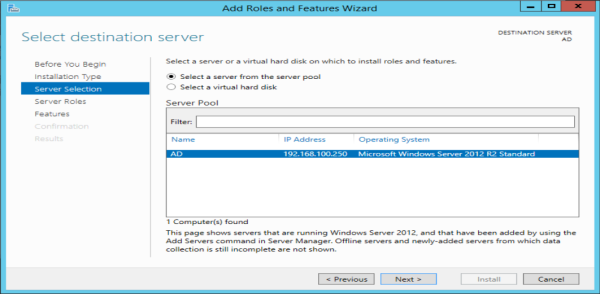
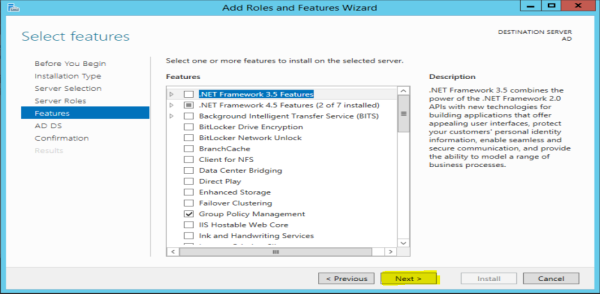
The initial wizard for the installation of roles on the Server appears. We follow until we get to the roles.
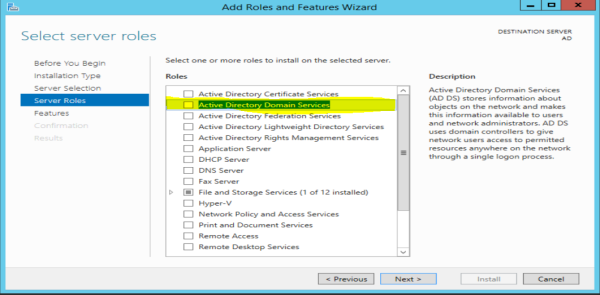
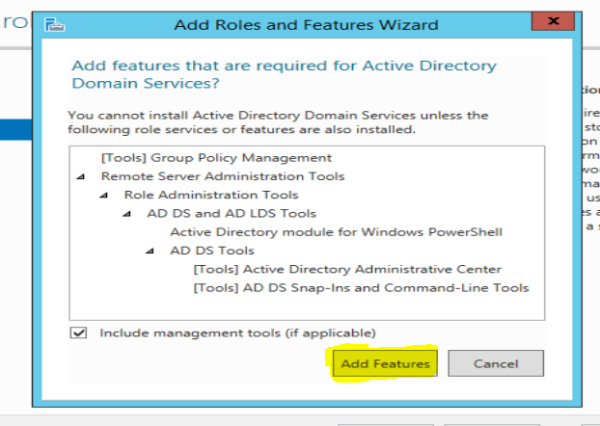
In the roles, we choose the Active Directory Domain Services option.
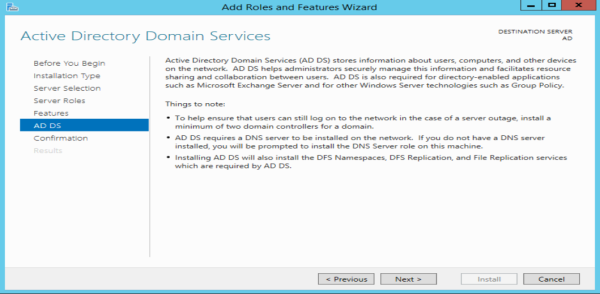
We follow everything until we reach the final confirmation of the installation of the service or role.
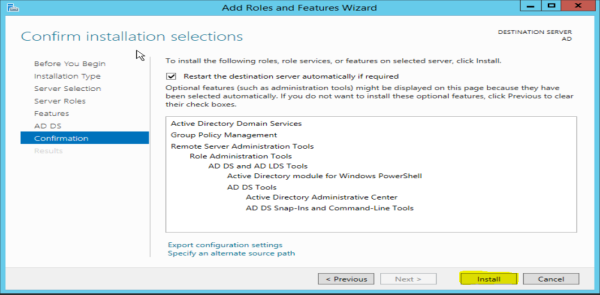
In the final confirmation, it shows us a summary of the role that we are going to install. We select the option of automatic restart of the server if it is required and we click on Install.
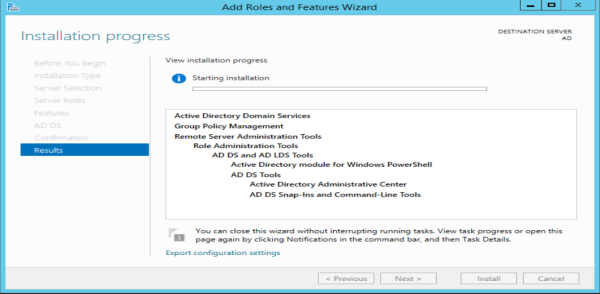
Let's wait until the installation is complete.

